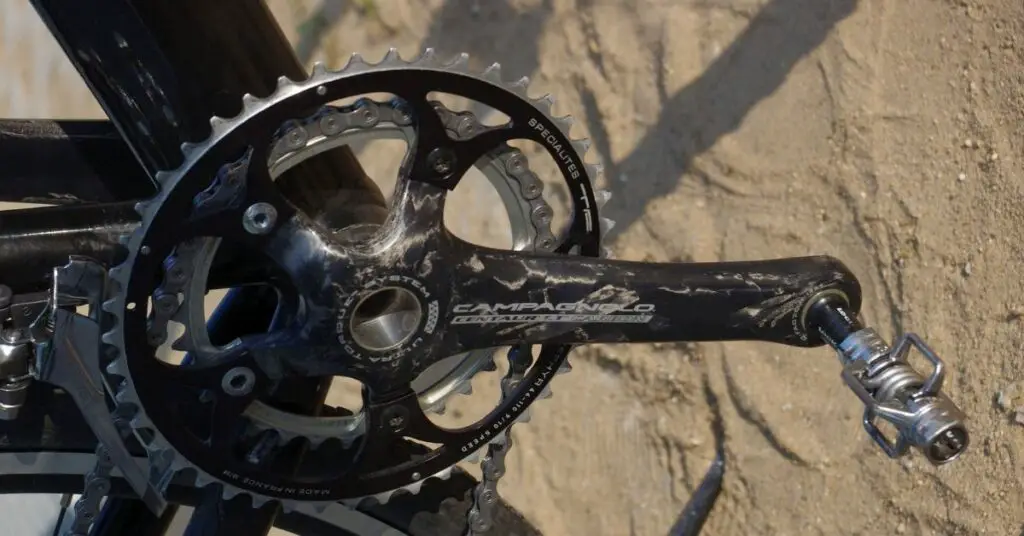
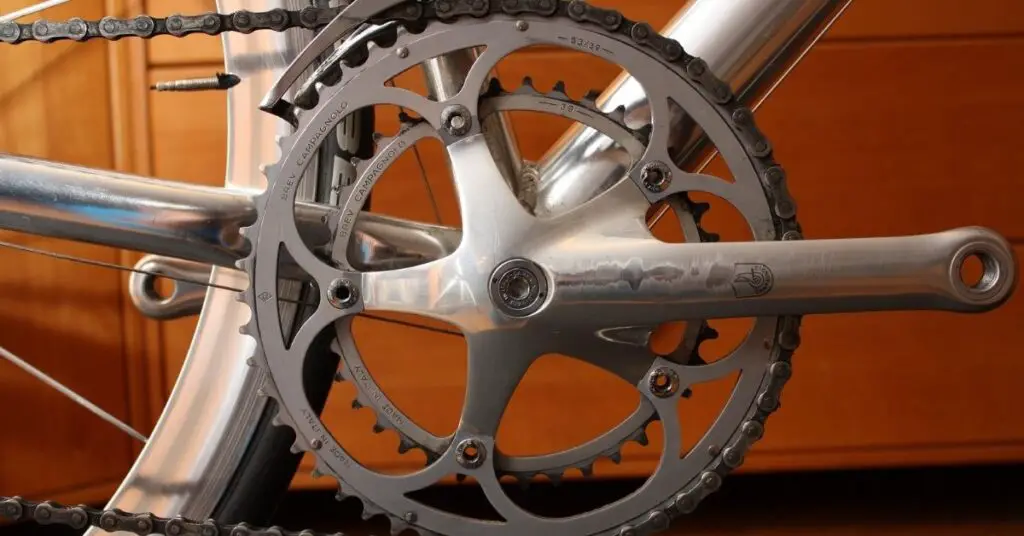
The cranks are the mechanical heartbeat of the bike, they reflect how often you shift gears, how you ride them, where you ride them and how you care for them after riding.
Cranks connect the pedals to the bottom bracket and can be removed to service the bike or replace the crank and its components. Generally, the components of the bicycle need constant checking and servicing to ensure they always work properly.
It is not only you who is wondering: “does the crankset ever get worn?”, “Does it ever stop functioning as it should?”.
Here is what you need to know!
Do Cranks Wear Out?
Absolutely! Just like the other parts of the bicycle, the crankset and its components are also prone to wear and tear. Riding with a worn crank can be very dangerous.
For a trained eye, spotting wear and tear is quite an easy task, but sometimes, the signs of wear are not easily seen but noticed while riding.
Your bike reflects how you use it in the long run.
How to Tell If Your Crank Is Worn?
Typically, a worn crank is a bad crank. Although a crankset can last you for years, there are often several telltale signs of a worn crank.
1- Cracked Crank Arm
Although quite unusual, the crankset can become cracked when the crank arm slides into the bottom bracket constantly. If the mating hole wears and it is retightened too many times, the crank arm can slide into the bottom bracket and cause a crack.
2- Bent Crank
While cranks often tend to be stronger than frames, they are still prone to bends or twists from impact. A bend in your crank is noticeable while peddling.
These bends affect the functionality of your crank and make a replacement necessary.
3- Damaged Pedals
Damage to the threads of the pedal is also a sign that the crankset is worn and in need of a change.
4- Rough Teeth
Narrowed, bent or flattened teeth on your crank can make the crankset work less effectively. This only becomes an obvious sign after many years of using a chainring. The chainring slowly roughens to show that the components of the bike crank are ready for a change.
5- Wierd Sounds
Noise coming from the crankset while riding shows that there is something wrong that ought to be addressed. Grinding sounds may mean bad bearings or chainrings.
6- Crank Wobble
Loose bolts connecting the crank to chainrings also show wear on the bike.
7- Shifting Problems
When you observe a constant difficulty in changing gears on your ride, this is most times due to a fault in the crank components.
Do I Need to Replace My Cranks?
The crankset is an important part of every bicycle; which is made up of the axle, bearings, cups, and arms. The crankset has to be in a good state for a pleasurable riding experience while using the bicycle.
As long as it is constantly checked to ensure the components are tight and not loose, a crank has the potential to last you many years and thousands of miles without needing replacement or showing signs of wear and tear.
When Should I Make a Replacement?
To most, one common rule of the crank is to leave it as it is, as long as it causes no problems. However, to keep your cranks in good shape, parts like the chains should be replaced before they get overly worn.
Changing the chains in your crankset after every 1000-2000 miles also gives your crank a longer life span.
Moreover, once your crank shows signs of wear, such as noise while riding, damaged or bent components, you are in need of a new crankset. Using a crank continuously and not minding the wear on it is dangerous.
This does not only cause possible accidents but leads to more intense wear and damage on the bike itself.
What Else Am I Replacing?
When you replace your crankset for wear or other reasons, there is a high chance you have to get a few replacements for other components.
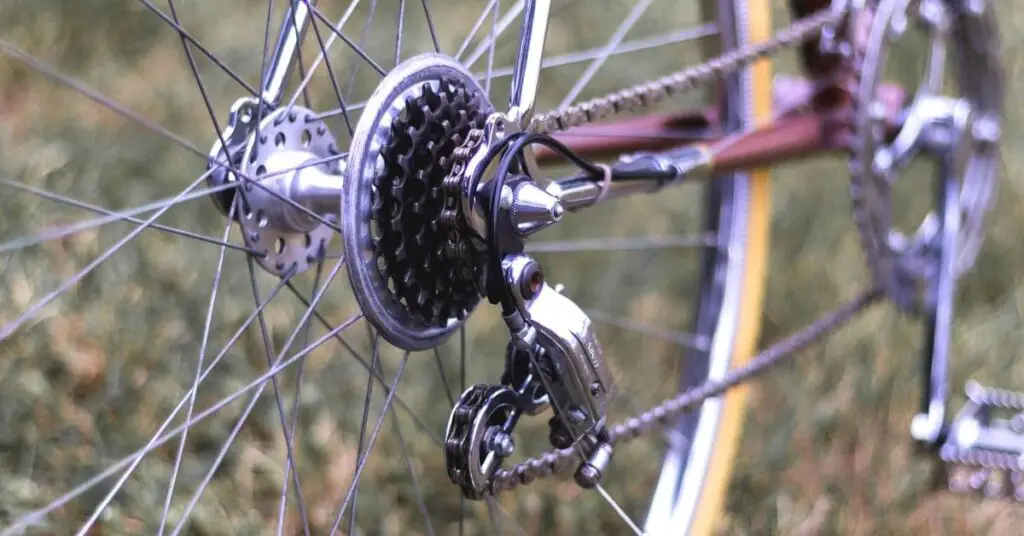
A new front sprocket is usually next in line to changing the cranks.
Since the cassette stretches as the chain stretches, a badly damaged cassette is likely to cause more damage to your chain, so changing the cassette early enough is always safer.
The stretches on the chainrings are usually less noticeable because they are more evenly distributed along the teeth.
How Should I Replace?
Replacing your crankset can be done as a do-it-yourself project or taken to your local bike mechanic. Choosing to use a bike mechanic means you are prepared to get the job done professionally, not minding the extra cost.
Changing the crankset yourself is a relatively easy task. With the right tools at hand, this only takes a couple of minutes to disassemble and reinstall.
Since cranksets have become more intricate in recent models, different crank systems have varying ways of installing them.
What to Consider When Replacing your Crankset?
The below are the factors which should be looked out for when considering buying a new crankset.
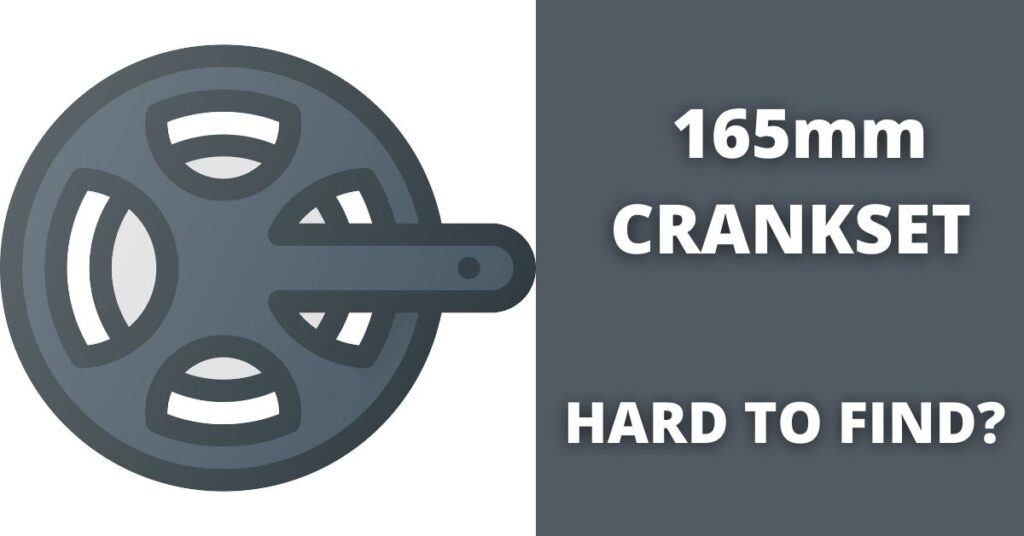
● Crank Length
This is measured from the center of the bottom bracket axle to the center of the pedal axle. The length of your new crank is essential in your riding experience.
A shorter length is usually recommended for more leverage and riding comfort as they help to soften the impact of cycling on the body, especially the knees.
● Chainrings
Your choice of the chainring is determined by the type of bike you ride and the chainring you choose has an impact on your riding experience.
● Bottom Bracket
When installing a new crank, you may choose to also work on your Bottom Bracket for more stiffness and lightness.
● Quality
A high-quality crank is more likely to be made of better quality materials and so the chainrings might last longer than in lower-end cranks.
● Crank weight
A change in crankset should also be a change in crank weight. Most modern cranks are now made of aluminum or carbon to make them lighter while keeping their functionality.
A lighter crank is less likely to flex easily because of the material it is made from.
How to Prevent Your Bike Crank from Wear & Tear?
To prevent your crank from getting worn quite fast, here are a few ways to keep safe:
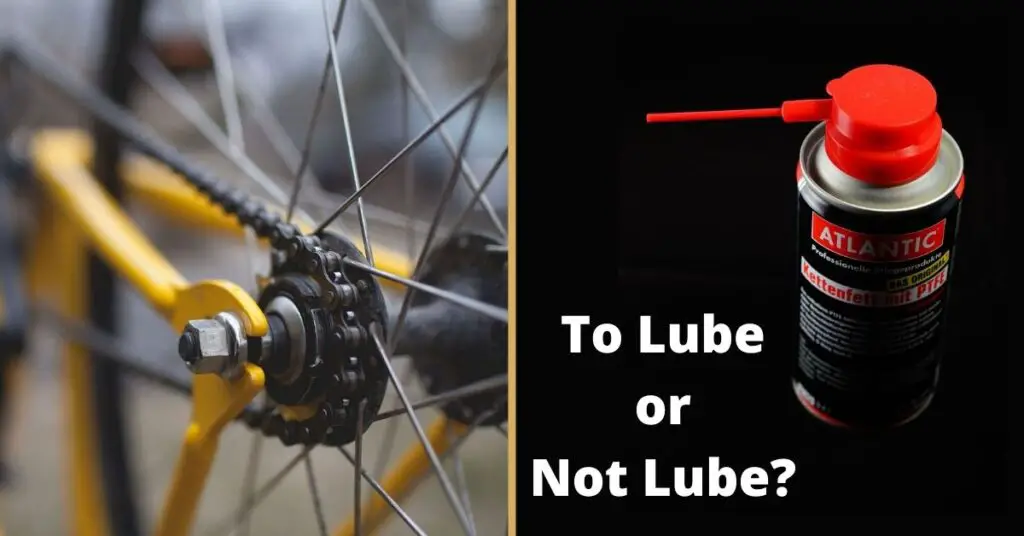
1- Inspect your crankset constantly against dirt build-up which may affect its proper functioning
2- Do not spray water directly at the cranks; instead, you may use a brush for the corners.
3- Wash the bike after each ride.
4- Ride your bike with care because this has an impact on the longevity of its crank and other components.
5- Check crank bolts after every ride to ensure they are firm.
6- After every 1000-2000 miles, examining your chainring as damage is essential.
7- Every few weeks, ensure the bottom bracket is firm and not sloppy.
New Crank Installation
Here is a brief guide that works just fine with almost all crank dissembling and reinstallation.
How to Get Your Old Cranks Off?
The easiest way to go about fixing your bike yourself is to use an Allen wrench. Since this wrench typically comes with six edges, it has to match with your crank’s connecting bolts, a hex bolt.
To use the Allen wrench:
1- Put the shorter end of the L-shaped tool into the crank’s bolt while putting pressure on the longer side of the L-shaped wrench to turn the bolt.
2- After loosening the bolt, a well-greased crank extractor will be needed to remove the crank’s from the bike.
Installing a New Crankset
7 Tools for Crank Installation
1- The new crankset
2- 15mm Torque wrench
3- Correct Allen bolt
4- Crank extractor
5- Grease
6- Safety gloves
7- Pedal spanner
The Procedure
STEP 1- After getting your old cranks off, ensure your chain is neatly hooked on the chainring.
STEP 2- Install the cranks next, starting with the right crank and then the left.
STEP 3- When they have been firmly placed, fit the bolt and retighten with your wrench till it fits. Making sure all these are in place, the pedals can be reattached.
Giving the cranks a good coat of grease keeps them removable the next time you have to reinstall your cranks.
Conclusion
The crank does most of the mechanical work on a bike and it is sometimes referred to as the mechanical heartbeat of the bike.
Cranks wear gradually depending on how they are managed by the rider. A carefully ridden bike is more likely to wear less than a bike that is used on rough terrain constantly.
Follow the above guide to assess the condition of your crankset and see if it needs replacement. Look for the mentioned factors while buying a new crankset and install it with the given steps.
Cheers!