If you are an avid cyclist, you understand the importance of keeping your bike in good condition for optimal performance.
Your bike undergoes a fair amount of wear and tear, especially if you are a cyclist who spends many hours on the road. This inevitably means that you may need to replace your bike cassette or cogs as part of your annual service.
Most local bike dealers recommend using a chainwhip, otherwise known as a sprocket puller, to stop the cassette from moving, but is it really necessary?
What Is a Chain Whip Used For?
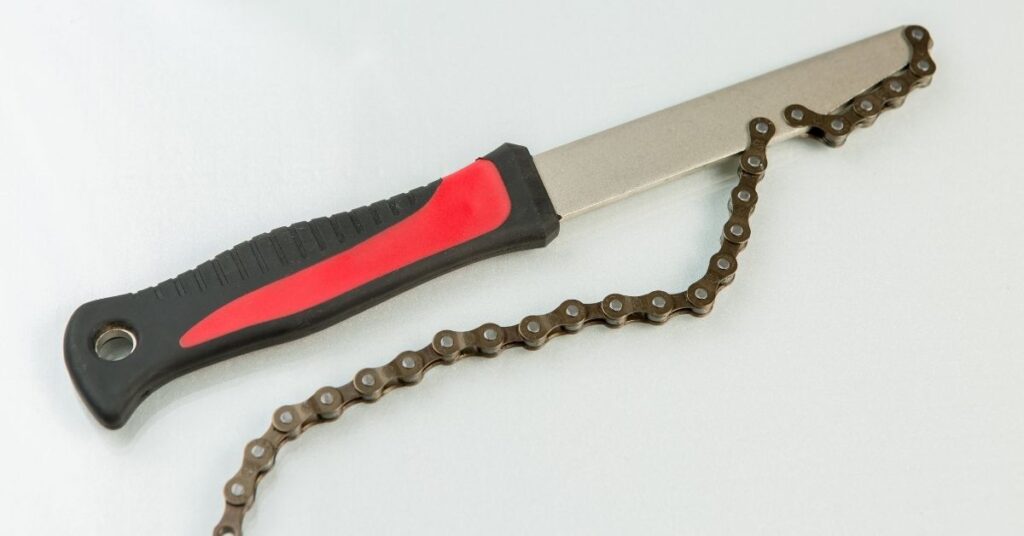
A chainwhip is a long handle with two pieces of chain attached to it. It is a unique-looking tool and is useful when disassembling a cassette.
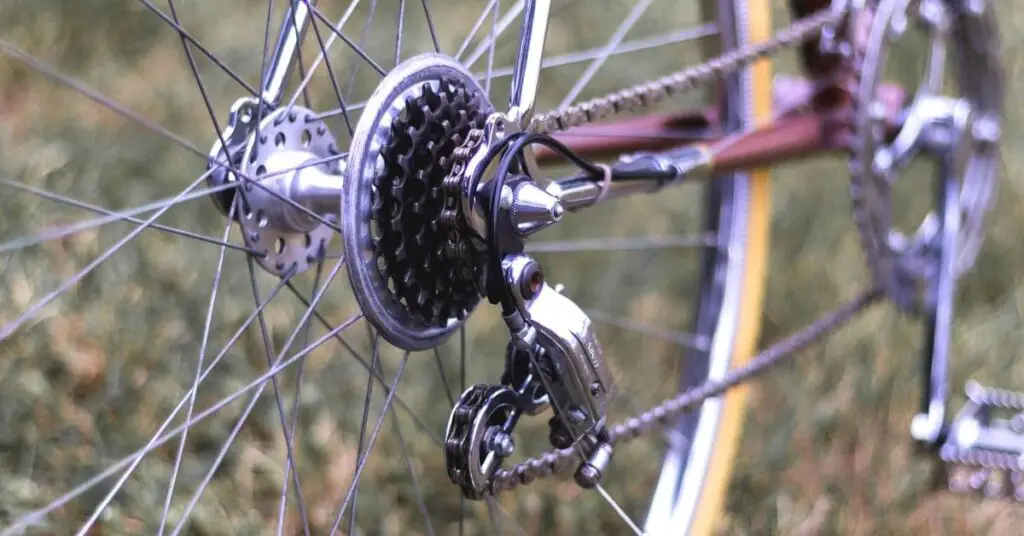
A cassette is a collection of tooth rings on the rear wheel of your bike which facilitates different gear ratios.
Over a period of time, the teeth on the cogs can become worn and the chain will start to slip. When this happens, it is time to replace the cassette.
This is where a chain whip comes into play.
Many cyclists prefer to use an original chain whip and lockring rather than an alternative solution when replacing cassettes. The chainwhip will hold your gears in place, so the cassette does not freewheel while you loosen it.
Essentially it serves as a counter lever so that your wheel does not spin. Some cyclists consider a chain whip as an investment and have one readily available in their bike toolkit.
Is a Chainwhip Necessary?
A chainwhip is not an absolute necessity. Think about how often you change cassettes if you are pondering whether or not to buy a chainwhip.
If you are a frequent cyclist or have several bikes in your possession, it may be worth your while to buy one. It may save you time, as there is always the risk of damaging your bike if you are doing bike maintenance at home without the proper tools.
When Do You Have to Look for Alternatives
There are times when the unexpected happens, and you have no chainwhip to help you out. You might find you are stuck in a remote area, with a broken spoke on the cassette side, and need to remove the cassette.
Or you may be on a tight budget and don’t want to spend unnecessary money on a chainwhip tool. There are ways and means to remove the cassette without a chainwhip. The choice is yours.
How do I Remove a Cassette without a Chainwhip?
We have described two valuable techniques you can follow.
Method 1 – Use a Chain, Adjustable Wrench and a Lockring Tool
YOU WILL NEED
● Grease
● A chain – approximately 54cms in length
● A lockring cassette tool. These come in different sizes and shapes and are available from your local bike dealer if you did not purchase one when you first bought your bike.
● Adjustable wrench or spanner
● Two cable ties or a short brake cable
● A glove
STEPS
STEP 1: Put the glove on and remove your rear bike tire from the frame of your bike.
STEP 2: Wind the chain around the cassette and leave one end free.
STEP 3: Next, you will need to secure one end of the chain to your bike rim. If you are concerned that your bike tire may get damaged or burst, we recommend that you remove your bike tire from the rim at this point.
Once removed, insert the cable tie through one end of the chain and tighten it to the bike rim. If you do not have cable ties, use a rope or short brake cable.
STEP 4: Unscrew the quick release from the cassette.
STEP 5: Place the lockring tool onto the cassette and replace the quick release onto the cassette to hold the lockring tool in place.
STEP 6: Your next step is to loosen the lockring using your adjustable wrench or spanner. You will notice that the cassette does not turn. This is because the chain holds it securely in place and acts as leverage.
STEP 7: Once your cassette is loose, it is easy to remove and repair any spokes. You can also clean the hub and replace the cassette if you are servicing your bike.
STEP 8: To replace the cassette, you won’t need to use the chain. Simply place the cassette onto your bike, add a little bit of grease, together with the lockring, and quick release and tighten until it is secured.
Method 2 – Use a Pair of Needlenose Pliers
This is a relatively simple process to follow if you don’t have a chainwhip or a locking tool and want to remove your cassette.
YOU WILL NEED
● A pair of needlenose pliers
● A chain
STEPS
STEP 1: Wrap the chain around the sprocket of the cassette to prevent it from freewheeling.
STEP 2: Place your foot on one end of the chain so that it doesn’t move and support the wheel.
STEP 3: Insert the needlenose pliers into the grooves of the locking nut.
STEP 4: Grab the pair of pliers and slowly turn the nut. You will find that you can loosen the locking nut and remove the cassette.
STEP 5: To put the cassette back onto the wheel is straightforward as the locknut does not require the use of a chainwhip or leverage to tighten it.
When you are reinstalling your cassette, you will not need a chain whip. This is because the freewheel hub provides resistance while you are tightening the lockring.
Remember not to tighten the lockring too tightly as it can cause damage to your freehub, and you may be back in the position where you battle to remove it.
Can I use a Chain Whip on a Freewheel Bike System?
Modern-day bikes are usually fitted with a cassette type hub. They use a freehub system with a series of splines on the body while older bikes are equipped with a simple freewheel system that screws onto the hub.
For those cyclists who ride older bikes, you may find that it is harder to loosen these hubs as the screws are designed to tighten down as you pedal.
On an older freewheel bike system, we suggest using two chainwhips if you plan to remove the sprockets. Keep the wheel fitted on the bike, as this will make the process of removing the freewheel easier.
The idea is to use one chainwhip to unscrew the sprocket and the other to stop the freewheel from rotating.
If you find it extremely difficult to remove the threaded sprocket as they tend to be stubborn, remove the rear wheel from the bike and use a vice substitute for the chainwhip.
If you do not have a chainwhip or vice, we suggest that you follow the below steps. This is only indicated for older bikes:
YOU WILL NEED
● A puncher or small screwdriver
● A hammer
● A spline tool
STEPS
STEP 1: If you have a spline tool available, you are already one step ahead. Use it to loosen the freewheel with a pair of pliers. You can loosen it by turning in the same direction as the freewheel. If you do not have a spline tool, continue with the steps suggested below.
STEP 2: Identify the lockring that you are going to remove.
STEP 3: You will see there are two indentations or holes on either side of the lockring.
STEP 4: Insert the screwdriver or puncher into each of the holes and hammer the back of the screwdriver. You might need to use a bit of force to loosen the lockring as it can be stiff.
STEP 5: Once loose, turn the lockring with the screwdriver and remove it.
STEP 6: At this stage, you need to be careful as you could lose some ball bearings.
STEP 7: Lift off the freewheel making sure to catch any ballbearings that might escape.
STEP 8: Once you have restored and cleaned up the freewheel system, you can carefully put it back together.
How Do You Make a Homemade Chain Whip?
If you have no tools on hand and consider yourself seasoned in the do-it-yourself department, why not make a homemade chain whip? They are just as effective and won’t burn a hole in your pocket.
There are no hard and fast rules as to how the chain whip should look, but there is a common theme which we have followed.
YOU WILL NEED
• A flat piece of steel, 30mm wide and 4mm thick
• Some nuts and bolts, 3.5mm x 10mm
• An old inner tube
• A chain tool
• An old chain which is preferably the same speed as the number of cogs on the cassette you are changing
• A drill and 4mm drill bits for metal
• A vice
STEPS
STEP 1: Cut your old chain into two separate pieces. The first piece must consist of three outer links and the second piece must consist of eight outer plates and an extra inner link that is closed at the end. Use your chain tool for this procedure.
STEP 2: The next step is to mount the chain to one end of the steel bar. You need to mark the metal bar in order to see where to drill the holes for the screws and chain. The best way to do this is to lay your bar flat.
Place the small chain at one end of the bar and make a small mark on the bar for the top and bottom of the chain. Then place your second chain next to the first and demarcate where the second chain would be positioned.
STEP 3: Place the metal bar into a vice. At this point, remember safety is important. If you have safety glasses, put them on.
STEP 4: Take your drill and carefully drill holes at the places you have marked on the steel bar. There should be three holes.
STEP 5: Mount the chain pieces to the metal bar using the nuts and bolts.
STEP 6: Make sure to tighten the screws but not too much as you do need a little bit of movement.
STEP 7: The last step is to wrap the inner tube around the end of the steel bar so that your hands are spared when you use your chain whip. Cut your inner tube along one of the seams and wrap it tightly around the bar. If you have some electrical tape lying about you can wrap it over the inner tube for comfort.
Final Thoughts!
In summary, it is not always necessary to use a chain whip if you need to remove your cassette hub or freewheel.
For those of you who believe in using the proper tools to keep your bike in tip-top shape, you can buy a chain whip at your local bike dealer. They retail at a price of between $8 and $45, depending on what you are looking for.
If you are not keen on buying a chainwhip there are a variety of alternate solutions, you can follow.
For those with a knack for making tools, follow our steps above to make your very own chainwhip, sure to last you for several years to come and you will still have your fingers intact!
Safe travels on your bike!