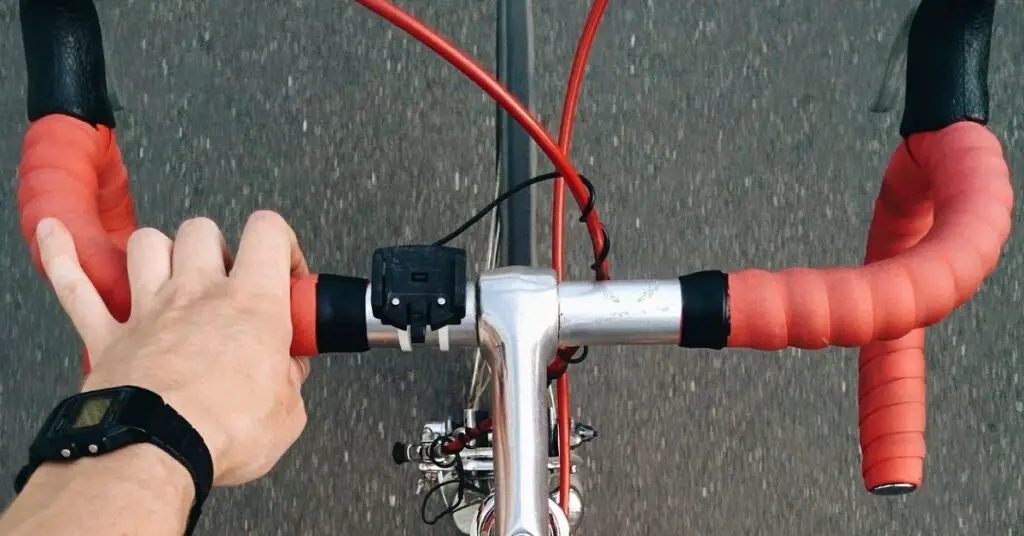
Crashes can happen to the most experienced cyclists. You might have blown your tire, or your wheel alignment may be out.
Any collision or bump inevitably means you will need to inspect your forks and headset for damage. You may even find that your fork is stuck! It is a frustrating situation for any cyclist.
I have put together some excellent advice to have you back on the road in no time.
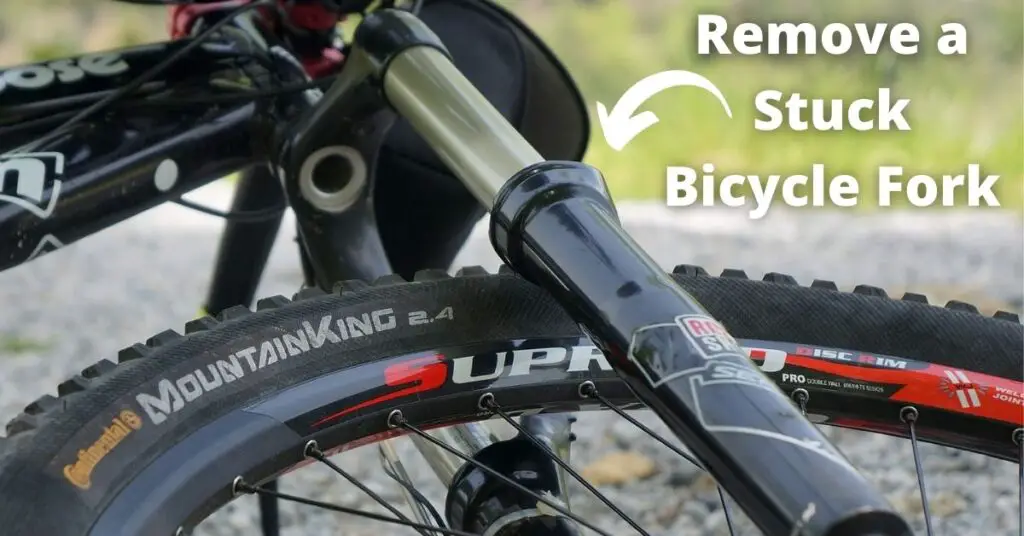
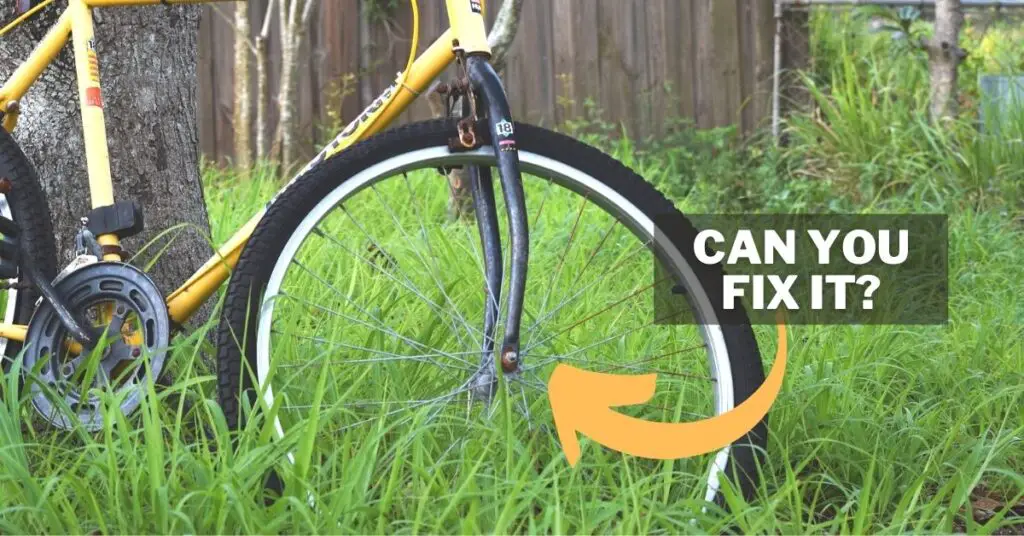
How to Remove a Stuck Bicycle Fork?
Before we look at how you remove a stuck bicycle fork, remember that you need to ascertain whether your headset is threaded or threadless, as the procedure for removing a stuck bicycle fork will differ.
Below I have provided you with information for both options:
The 1st Step: Is Your Fork Threaded or Threadless?
Before you start hammering your bike with a mallet followed by irreparable damage, you need to determine if your fork is threaded or unthreaded.
Threaded Forks
The lower range and older bikes are equipped with a threaded steerer tube.
If you look closely at your fork, you will notice that it has threads on it that you can attach your headset to. The threaded stems can be physically inserted into the fork. There is a wedge inside the stem which compresses and holds the fork in position.
Threadless Forks
Modern-day bicycles are usually fitted with threadless forks. As the name suggests, Threadless forks have no visible threads, allowing your stem to slide onto the fork with ease.
Once you know which type of fork you have, you can move onto the process of getting your fork unstuck.
Removing a Threadless Headset
If you have a threadless headset, it is more than likely that the split center ring cone is stuck.
STEP 1: Remove the top cap, stem, and washers and give the top of the steerer and cone a tap.
Remember to use a block of wood on top of the steerer before you tap it. This will prevent any damage to your steerer.
STEP 2: Once the cone is clear, the fork should pop out. If you find that the fork is wedged tight, give the steerer a soft tap on the sides, front and back, with a mallet. This should loosen the cone washer, allowing the fork to slide out.
Removing a Threaded Headset
If your fork is stuck on a threaded headset, it is probably due to corrosion and a locknut that won’t budge.
PROCESS
Try penetrating oil to loosen the locknut and remove any built-up corrosion.
If this method does not work, leave the oil to penetrate for a few days. With a little bit of leverage, the fork should come unstuck.
Why is my Bike Fork Stiff?
Every bike needs to be maintained at regular intervals for optimal performance. Bike forks are no different. If you notice that your bike forks are feeling stiff, it is probably the suspension.
Suspension on your bike is meant to absorb shock and dampen it. If your fork is feeling stiff, it may be that something is wrong with your suspension.
To identify the problem, it is a good idea to understand how suspension works.
Here is a quick overview:
1- Shock Absorption & Dampening
The forks on your bike absorb shock through compression, allowing the wheel to move upward. This is known as shock absorption.
The shock compresses the coil or air spring and then releases the stored energy when the wheel returns downward. This is where the term dampening comes into play. Dampening slows down the shock absorbers return otherwise you would feel a shudder through your handlebars.
Most forks these days have oil reservoirs, pistons, and valves that enable this dampening.
2- Preload & Rebound
To operate at maximum efficiency, the forks on your bike need to be adjusted to suit your riding style. This is where Preload and Rebound come into play.
Preload essentially refers to how stiff the fork is in relation to the amount of compression.
The Rebound is the speed at which the fork returns to its original position after being compressed.
If your fork is feeling stiff, it may be that your preload requires adjustment. If you feel that your fork needs a lot of force to compress it, you have too much preload.
THE SOLUTION
This can be easily adjusted by turning the preload indicator on your suspension fork towards the minus sign. This will reduce the amount of preload and should loosen your forks.
If this doesn’t fix the problem, you may need to consider swapping the fork or changing the spring in the suspension.
A valuable piece of advice is to study the owner’s manual, as this may provide advice on a spring suited to your fork for your weight and size. Some manufactures have designed springs that are suited to lighter and heavier riders.
It is important to remember that your fork should not be too soft as this will affect your pedaling and steering and could potentially damage your fork.
If your suspension is bouncy, it does, unfortunately, mean that the suspension may be faulty. A suspension that is too soft means there is an issue with the preload and Rebound.
In this instance, I suggest that you approach your local bike shop for advice on whether your fork can be replaced or fixed.
Why do Forks get Stuck in their Travel?
Suspension forks are excellent for most riding conditions. The trick to keeping them in prime condition is regular maintenance.
Two issues can happen on air suspension forks.
1- Air in the Suspension Fork
Inside the upper leg of your suspension fork is an air chamber. This is known as the stanchion tube. Atmospheric pressure build-up can happen in the lower forks, especially on long descents or high-altitude rides. This occurs when air finds its way into the fork’s lower leg, causing it to get stuck.
Solution
The best way to deal with this problem is to have your local technician repair or service it. If you have a cable tie handy, you can purge the air by carefully sticking the cable tie down the side of the seal on the fork legs, and the air pressure should release.
2- Fork Suck Down
The second issue is known as fork suck down which tends to happen to most cyclists. Suck down occurs when the negative air chamber gets overcharged and the fork pulls itself down.
This means that the air is in the wrong place, leaving you with a shortened fork. If you depress the air from the main positive chamber, you will find that nothing happens.
In most cases, fork suck down is caused by grease build-up inside the air chamber, which means it cannot equalize and therefore shortens the fork.
SOLUTION
To alleviate the problem, you will need a set of Allen keys to remove the foot bolts and some circuit pliers to remove nuts. You will also need a shock pump, a soft-ended mallet, an adjustable spanner, and correct sockets for your fork.
Depending on the type of bike you have, you will need to remove the rebound dial at the base of the forks to access the bolts and nuts.
YOU’LL NEED
Some suspension grease
Lower leg lube
A pair of rubber gloves
Disc brake cleaner for the lower leg forks
A few small containers (to catch any oil when you dismantle the forks)
STEPS
A work stand is excellent for holding your suspension forks while you work, as you can clamp your suspension forks down without risking any damage.
STEP 1: The first step is to put your rubber gloves on and start by ensuring there is no air in the positive air chamber. This is the chamber that you inflate at the top of the fork.
STEP 2: Once you have made sure that the air has been completely removed from the chamber, you can remove it from the fork. Do this by removing the top caps, rebound knob, and nuts at the bottom of the fork.
STEP 3: Slide the lower forks off and catch any oil which drips out. If you find resistance when you remove the air leg, it does mean there is a problem. Remember to remove the circlip before you pull the fork out. You may need to give it a few good tugs.
STEP 4: Inspect the leg and make sure it has no scratches on it. Clean it thoroughly and remove any signs of grease. If you find there are blobs of grease, this is probably why you are experiencing fork suck down.
Inspect the leg before reassembling the forks and make sure it is free from any grease or dirt.
STEP 5: To reassemble, add a tiny amount of grease onto the leg and slide it back into the fork, followed by the circlip. Make sure you replace the top cap and nuts and that the lowers and outers are lined up, followed by some lower leg lube.
Follow the owner’s manual for any guidelines to charge the chamber.
If you have followed all the steps correctly, you should have no trouble with your suspension forks.
Conclusion!
Whether it’s a stuck fork, a stiff fork, or fork suck down, which is causing you to have sleepless nights, rest assured there is always a solution to your problem.
The key takeaway to avoiding these problems is regular bike maintenance, a proper set of tools and if that doesn’t do the job, call your local bike shop.
Cheers!