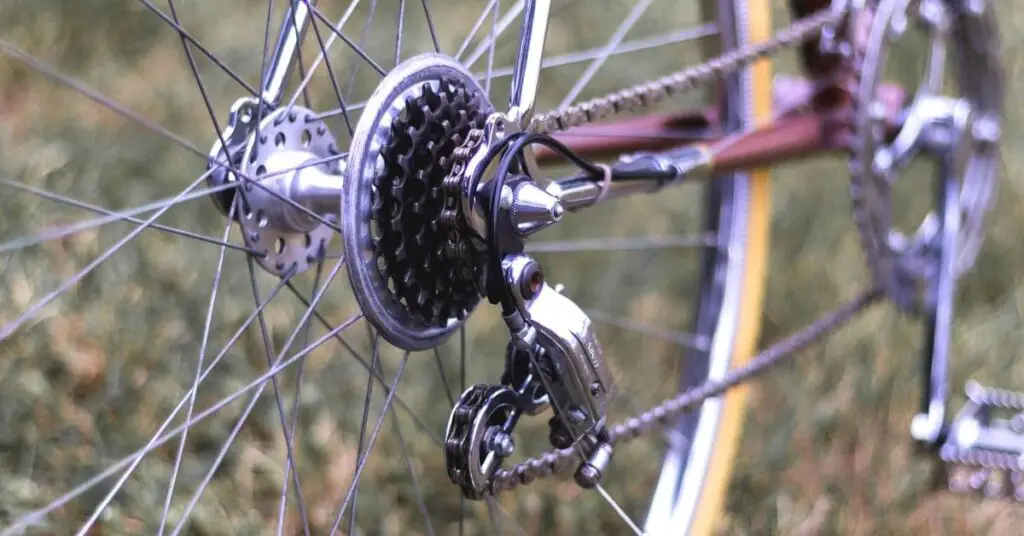
Cassette lockrings play essential roles in the makeup of a bicycle. This is because they are the ones that hold the cogs of a cassette firmly in place on the hub.
So the condition of the cassette lockring does not only affect the cassette but also the freehub body. The cassette lockring is threaded through the cassette and tightened down with a special tool to hold the cassette firm.
In this article, we’ll be discussing how tight the lockring should be, how to tighten it efficiently to keep your cassette in place and functioning well, the possibility of over-tightening your bike cassette and the problems it could cause, and other related topics about lockrings that you may be interested in.

How Tight Should a Cassette Lockring Be?
Since your cassette lockring is what holds your cassette together it should be as tight as possible.
Some manufacturers write the required torque for their lockrings on the lockrings so you can also use that. You should only go above that if your cassette feels loose after torquing it to those specified newton meters.
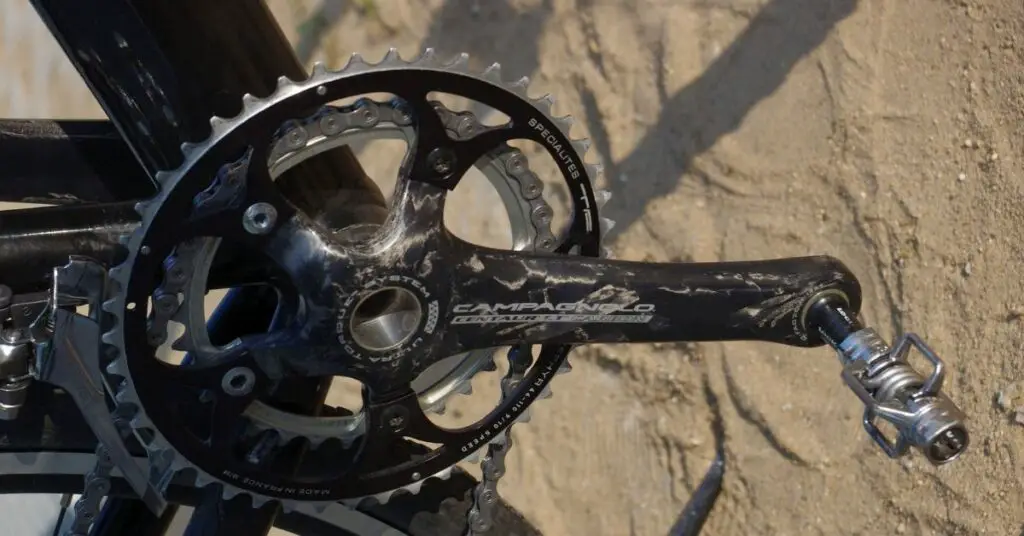
For example, Campagnolo lockrings usually have 50Nm written on them. This means the measurement for the tightness is 50-newton meters which can be measured with a torque wrench. Shimano, however, can be between 30 and 49Nm.
It is always advisable to torque your cassette lockring to at least 40Nm and above though.
You need not overly obsess about it but just keep in mind that your cassette lockring just needs to be as tight as you can manage. You don’t have to use a torque wrench to get the accurate torque.
You can use a spanner or plumber pliers to turn it clockwise and stop tightening it after hearing 4 or 5 clicks. It just needs to be tight enough to hold your cassette and prevent it from coming loose.
What Happens If My Cassette Is Not Tight Enough?
It will become loose and give you a hard time, which will make riding difficult. Here’s what all can happen:
1- Inaccurate Shifting
If your cassette is not tight enough you will notice that you are jumping gears. Your chain would either be jumping from your cogs to your spokes all the time or your chain will be jumping cogs and giving you very poor shifting.
2- Wobbling
If your cassette isn’t tight enough it would be wobbling and this will affect your handling. A wobbling cassette will make your rear wheel quite unstable which will make riding an annoying experience at that time.
The wobbling will also cause a lot of rattling sounds because the chain is jumping and hitting the spokes and the wheel. The cogs would also be jumping around and making loud metallic sounds.
Should My Cassette Wobble?
Your cassette shouldn’t wobble because you’re supposed to secure it tightly with the lock ring and true it to be firm. A little wobbling however isn’t uncommon as it is almost impossible to get a cassette true.
Some cassettes wobble especially when you’re freewheeling or pedaling backward and that’s still acceptable. They make noise and can be annoying to your ears but they function well.
You should however be worried if your cassette is wobbling excessively, this means it has come loose and needs to be tightened.
You should also be worried if the wobbling is affecting your shifting, steering, or making handling difficult. You need to check why this is happening and how best to resolve it.
How to Tighten the Cassette If It’s Loose
If your cassette is wobbling because it is loose, then you need to tighten it. Follow these few steps to tighten it efficiently:
YOU’LL NEED
Chain whip
Torque wrench or spanner/pliers
STEPS
STEP 1- Remove the wheel. You can’t tighten your bike cassette lockring when the rear wheel is still attached to your bike.
Shift onto the smallest cog and the smallest chainring. Disengage the quick release of the rim brake. Pull the quick-release skewer lever on the rear wheel and remove your wheel.
STEP 2- Place your wheel on a workbench or between your legs while you’re sitting. This is to make working on it easier.
STEP 3- Use the chain whip to wrap around one of the larger cogs in your cassette. This is to secure your cassette and keep it from spinning when you’re tightening it.
STEP 4- Use a wrench/ pliers to turn your cassette lockring anticlockwise and remove it from the cassette. You need to check the cassette for wear or any problems that could have caused your cassette lockring to become loose.
STEP 5- If you need a new cassette then get one. If not, reinstall the cassette correctly. Use the necessary spacers.
STEP 6- Grease your cassette lockring and put it into the cassette. Use a torque wrench to turn the lockring clockwise tightening it. A torque wrench measures this tightening in newton meters, so you’ll see when you have reached the desired newton meters.
If you’re using a spanner or plumber pliers, wrap the tool around your cassette lockring. You’ll need a great deal of strength to turn it and get your cassette lockring tight enough.
Turn it clockwise and keep turning until you feel it is right enough. You will usually hear clicks as you turn. After 4 or 5 clicks, your cassette lockring should be tight enough.
Can You over-Tighten a Bike Cassette?
Yes, you can overtighten a bike cassette and this usually doesn’t end well. If you go way above the torque recommended for your cassette lock ring, you would be overtightening it.
This is why using a torque wrench is advised when tightening your cassette. It will help you get the accurate torque specified for your cassette lockring. This is usually written on cassette lockrings, so you should ALWAYS check yours before torquing it.
Dangers of over-Tightening Your Cassette
Here are a few reasons why you should not over-tighten your cassette:
1- It Will Damage Your Lockring
When you over-tighten your cassette lockring, it could shred the lockring into your cassette. This would damage the lockring and you’ll have to remove all the threads from the cassette carefully without losing a piece.
2- It Will Damage Your Freehub
Over tightening your cassette lockring can also damage your freehub in addition to damaging your lockring.
This is more likely to happen if your freehub is made of aluminum. This will strip the threads of the freehub body and it will come loose at some point.
3- Poor Shifting
You can also over-tighten your cassette and disrupt your shifting. This is why you should only tighten it enough to keep it from wobbling excessively.
If your cassette has plastic spacers and you over-tighten your cassette, the spacers would be squeezed and this would move your cogs closer together. This will make shifting difficult.
4- It Will Be Difficult to Get the Lockring Off
Your cassette can’t stay on forever. You would have to remove it for cleaning once in a while. You might also want to replace the cassette or freehub.
This would be impossible if you have over-tightened your cassette. You might break a few chain whips and wrenches while getting the lockring off.
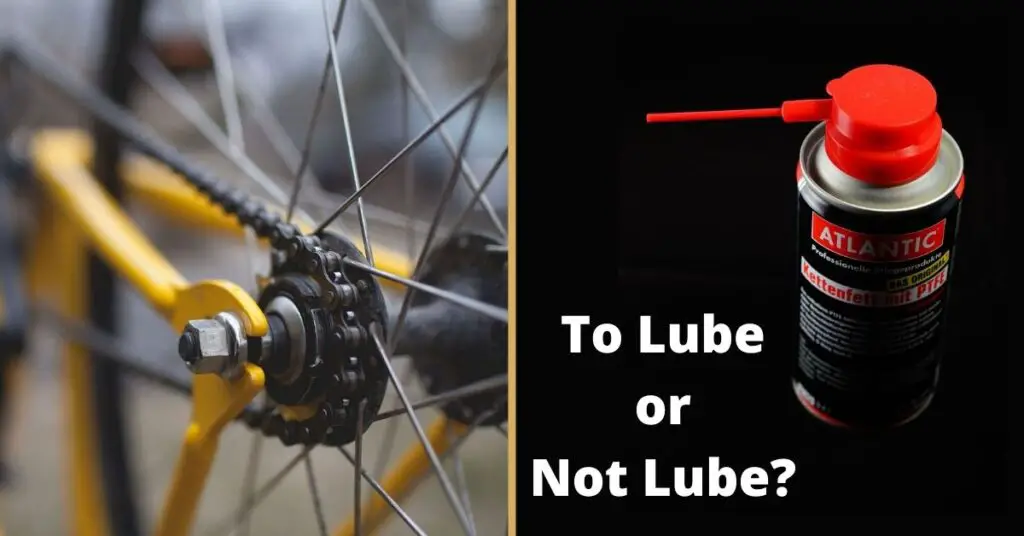
Should You Grease Cassette Lockring?
Yes, you should, if you want your cassette to function well and last for a long time. Greasing your cassette lockring is one of the ways to treat it right and make it function better.
You should grease your cassette lockring when you install a new cassette and when you’re about to remove your cassette.
Why Grease It? Here’s why:
1- It Will Be Easier to Remove
Greasing your cassette lockring ensures that you have minimal difficulty when removing the cassette for cleaning or replacement. Removing a cassette lockring that is stuck can damage the lockring, freehub, and cassette.
2- It Prevents Cross-Threading
Cassette lockrings have fine threads and it is very easy to cross-thread them if you aren’t careful.
Greasing your lockring before threading them through your cassette can help you avoid this situation. Cross-threading lockrings can damage your lockring or freehub because they are hard to remove and correct.
Greasing an already cross-threaded cassette lockring can also make removing it easier. It can help avoid the shredding of the lockring or threads in your cassette.
3- It Prevents Rust
Lockrings are made of metal or other related alloys that are prone to rust and corrosion.
Greasing it helps it stay shiny and ensures that it won’t rust and damage your cassette. Because rust will not only destroy the lockring, it will also spread from the lockring to the cassette which can, in turn, affect your freehub body.
It will also make it difficult to remove your bike cassette from your rear wheel. So ensure you always grease your cassette.
Final Thoughts!
You should tighten your cassette lockring as much as you can so that your cassette can stay firm for you to have comfortable and safe rides. A loose cassette lockring is also dangerous as your cassette can come loose at any time while riding which can make you lose control of the bike.
You should inspect your cassette lockring often or pay attention to the sounds your bike makes so you can quickly detect if it’s loose and tighten it again. We have discussed easy steps in which you can do that in few minutes.
Greasing your cassette lockring while installing it is also important as it helps the cassette to function well and last longer. You should also regrease your lockring whenever you notice that grease has dried off and when you clean your cassette.
Cheers!