Cycling with a single brake or without properly working brakes can be hazardous to the rider and other road users. Whether you are a seasoned cyclist or new to the biking world, you must take time to learn everything about your bike brakes.
There are tons of questions surrounding bike brakes. Do you need the front, rear, or both brakes?
Which is the best braking technique?
Here is everything you need to know about brakes on your road bike.

Is It Safe to Cycle with One Brake?
Cycling with one set of brakes is less safe than with two brakes. The two brakes regulation is all about redundancy. Should one set of brakes fail, the other will safely slow you down to a halt.
Why Having Only One brake is Not the Best Idea?
Avid fixed gear bike riders are skilled enough to ride without the rear brakes. Riding a fixie with rear brakes is considered unfashionable.
You can ride on a fixie or any other road bike with just the front brakes, but this doesn’t make it a good idea due to the following reasons……
1- Local Laws
If you are going to ride with one brake, you might want to have a look at your local laws. For most regions, having both front and rear brakes is a legal requirement.
2- Accidents
Were you to run into an accident while riding on a single brake, your impaired ability to stop would be partly to blame. The last thing a cyclist wants is to reach out for the brake and it’s not there. That’s how cyclists end up hurt or even dead.
3- Risk While Going Downhill
Imagine cycling downhill at over 60mph only for the front brakes cable to snap. What would you do without properly working rear brakes?
4- You May Fall Off in Slow Traffic
Although front brakes provide the most braking power, they are not feasible in slow rides, cities, and sloppy paths. On the other hand, rear brakes provide better control at low speed and cornering, where the use of front brakes could lead to a fall.
How Important Are Front Brakes?
The front brake provides the quickest way of stopping a road bike. It is the most effective of the two brakes. Applying the front brakes transfers the weight to the front wheel increasing its traction such that it does not skid.
Suited to Dry Surfaces
Front brakes are most effective on dry pavements by significantly reducing the stopping distance. However, using the front brakes have less traction on wet, muddy, gravely, icy, and snowy surfaces.
Required By Law
Front brakes are a legal requirement and for a good reason. Front brakes decelerate the bike considerably without the risk of wheel lock, regardless of the pressure on the lever.
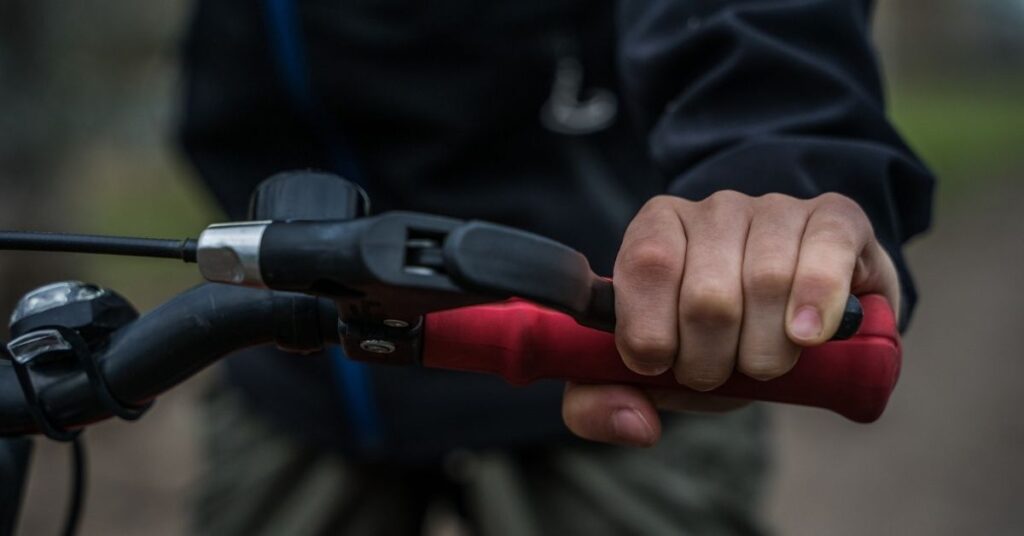
How to Apply Front Brakes?
The stopping distance depends on how fast you apply the front brakes.
Rather than slamming the brakes, the best approach should be gently applying the brakes. Should you panic and slam on the front brakes, you are likely to flip the bike forward, sending you over the handlebar and landing on your head.
Your braking technique will depend on the bike, brakes, weight, and the condition of the road surface.
When applying the front brakes, be cautious not to go over the bars and braking through corners.
How Important Are Rear Brakes?
Both front and rear brakes are important! Rear brakes boost the braking power and provide a more balanced braking system. Rear brakes provide a modest deceleration.
The rear wheel is locked upon applying pressure to the brake lever. In hard braking, weight is drastically transferred from the rear wheel to the front wheel, making it easy for the rear wheel to skid.
Given that the coefficient of sliding friction is lower than that of rolling friction, the rear brakes are not ideal for emergency stops.
Nevertheless, having the rear brake is less detrimental than riding with just the front brake.
Tips: When Cycling with One Brake
Proper braking on a single brake does not come naturally. It’s a technique you must learn to control and ride the bike safely.
To brake safely on a single brake, you need to ensure that it is working properly.
Brake Pad Precautions
1- The brake pads must be in good shape and properly fitted.
2- The entire pad must fully contract and squeeze the braking surface.
3- No part of the pads should be in contact with the tire.
How to Cycle & Brake with One Brake (STEPS)
STEP 1- Focus on the point where you want to stop, which should not be just in front of the wheel.
STEP 2- Gently pull back the brake lever until the bike starts to slow down.
STEP 3- Once you have the right speed, slowly release the brakes.
STEP 4- Gently add pressure on the lever then back peddle to restrict the rear wheel motion to regulate speed and bring the bike to a stop. This point assumes you are riding a fixie.
General Advise
1- Thoroughly check the brakes before every ride. Ensure that all braking components are correctly positioned and fully functional.
2- Besides the pre-ride checks, brakes must be routinely serviced by an expert.
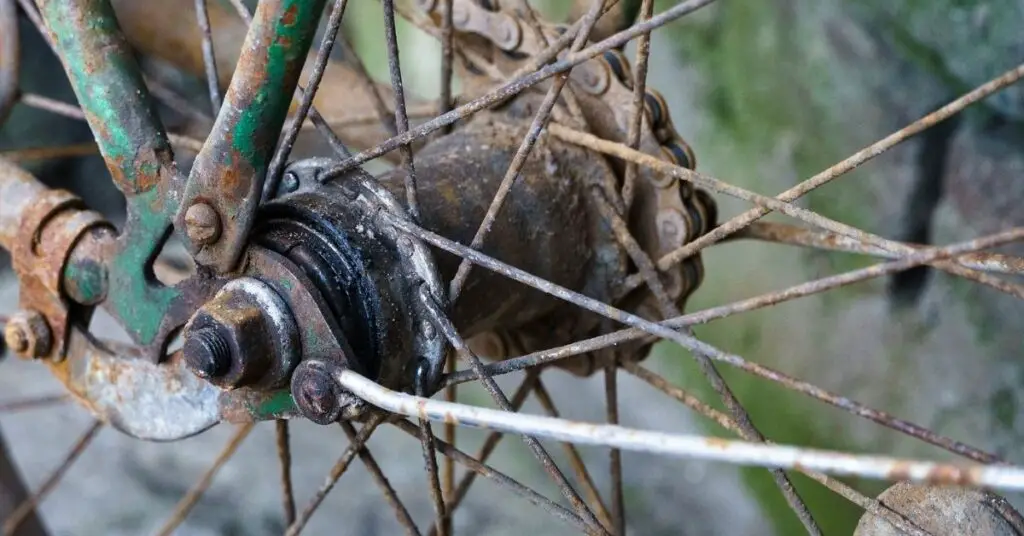
Why Is One Side of My Brakes Not Working?
There are several reasons why one side of your brakes could stop working.
1- It could have come loose and thus not slowing your down as it ought to.
2- If tugging on the lever does not result in the brake pad contacting the rim surface, it might not be firmly fitted.
3- The brake pad might also be grazed, unevenly worn out, or even have embedded-on grit. Brake pads can also harden and become smooth due to over-application or overheating thus failing to generate sufficient friction needed to slow you down.
4- Uneven wear is an indication of improper installation. Different brake pads will be inserted in a specific direction.
Replacing the worn-out pad will solve the braking problem.
How Do I Fix My Brakes on My Bike Not Working?
How you fix your brakes depends on the actual problem. To fix your brakes, you must first inspect the problem by testing the brake operation.
Start by checking and replacing worn-out brake pads. This is an essential part of the maintenance routine. Failure to do this will result in brake failure and potentially running into an accident.
Fortunately, brake pads come with wear indicators, which upon disappearing signal the need for a replacement.
To fix new brake pads….
STEP 1- Start by removing the nuts and washer from the old brake pad to free it from the caliper.
STEP 2- Place the new pad keeping it properly aligned with the tire as indicated. Ensure the pad’s height is near the center of the rim. Mounting the pads too low can be dangerous as they might slide off the rim. If mounted too high, the pads might rub the sidewall of the tires.
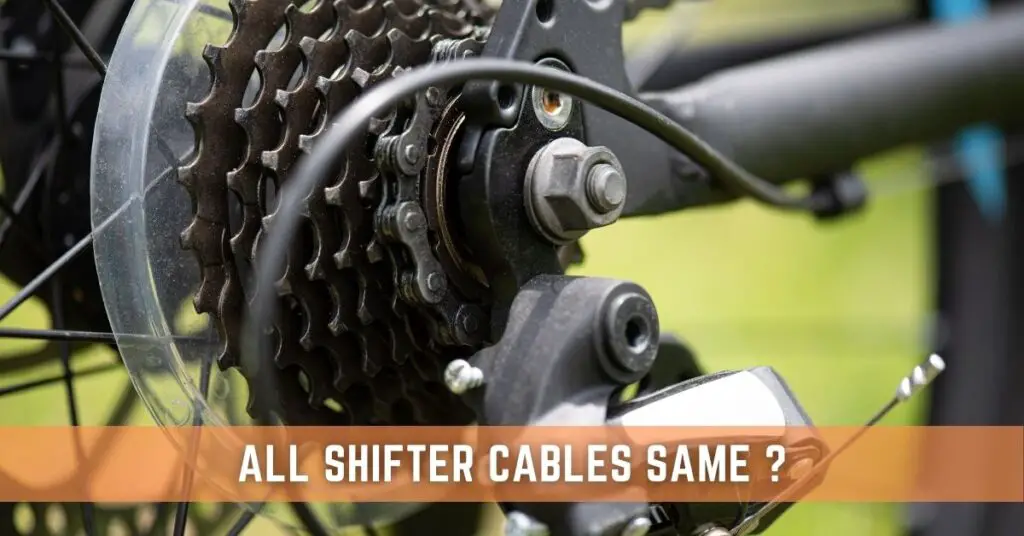
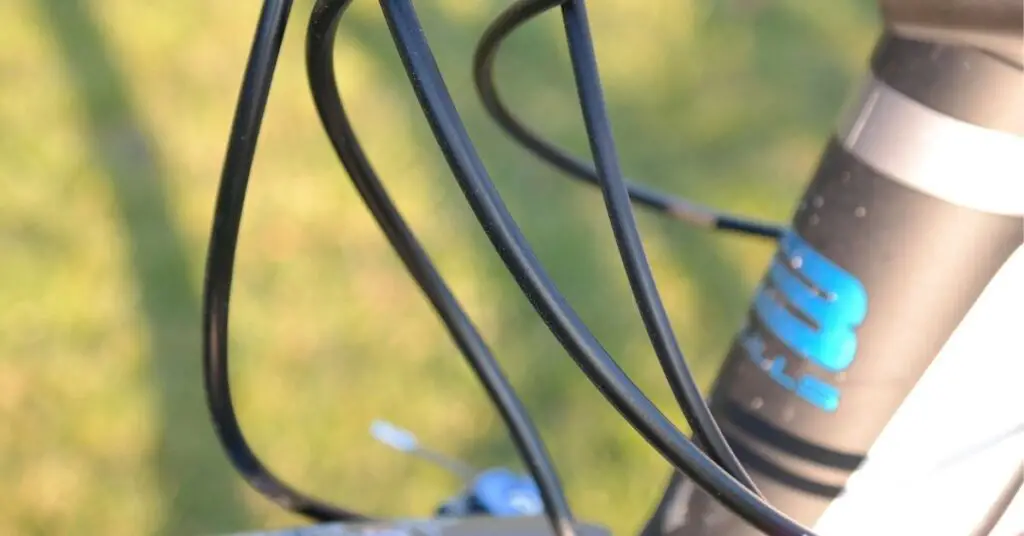
STEP 3- Remember to check the cables by squeezing the brake levers to ensure the cable moves. If the cable is not moving, it might be stuck in the housing, or the clamp on the lever is loose.
STEP 4- To replace the cable, start by removing the old cable by snipping it off the crimped end then sliding it out of the housing.
STEP 5- Cut the new cable to size and insert it in the housing and secure it over the barrel adjuster and retention anchor.
STEP 6- Pull the brake handle to the handlebar to check the resistance and brake mechanism.
STEP 7- Repeat these steps until you are satisfied that the brake cable is positioned properly.
Obviously, fixing the brake system is not rocket science. However, if you are unsure of the problem or how to fix it, consult a specialist.
Final Thoughts!
You can ride with one brake, but this is not the best idea. It is always safer to ride with two brakes – the rear and front brakes.
Unlike the rear brakes, riding with front brakes gives you more stopping power. When braking with the rear brakes, the center of gravity shifts forward forcing the rear wheel to lose traction.
Servicing your bike should be a priority and that should begin with properly adjusting the brakes. This always you to brake quickly during emergencies.
Cheers!