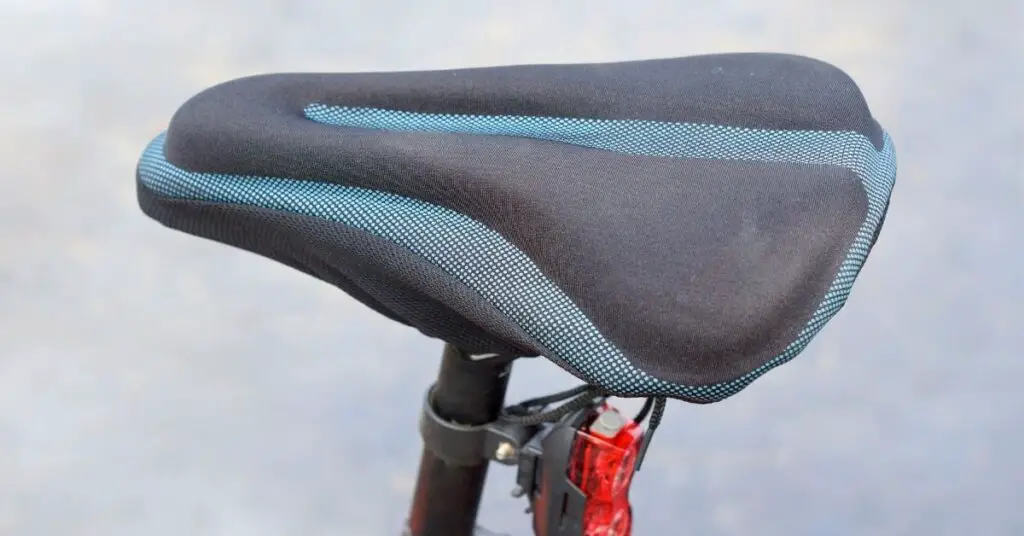
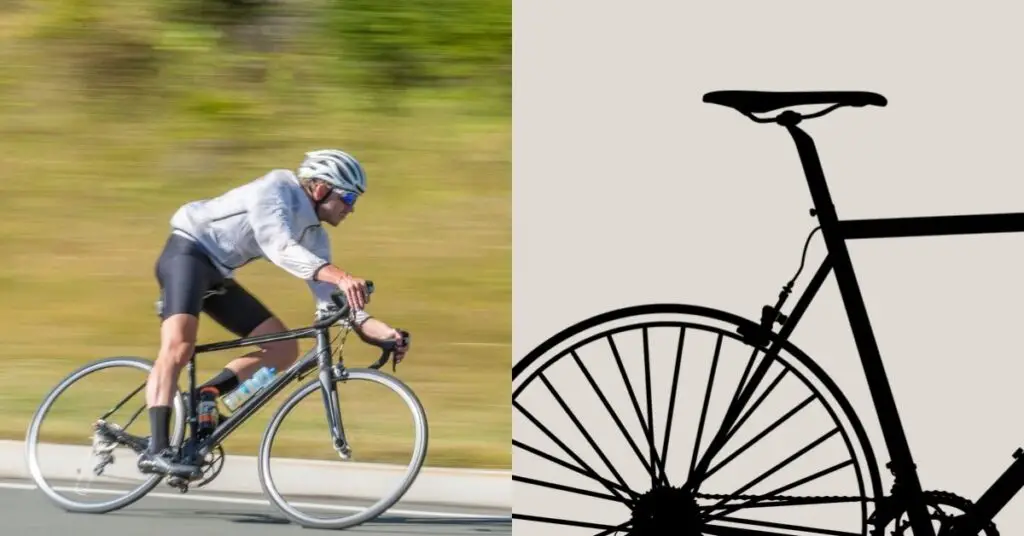
When it comes to the saddle on their bicycles, many cyclists place primary importance on the height of the saddle. But one other very important aspect that comes before getting the correct height is the position of the saddle.
It is very important that the saddle is at a level angle so that the cyclist’s pelvis is properly protected and there is maximum comfort while pedaling.
For flat saddles, it is generally a simple process to get a level angle. However, curved saddles are a different ball game that has thrown many cyclists for a loop. So, we decided to lend a hand. We did the research and found the answers to everything regarding leveling a curved saddle.
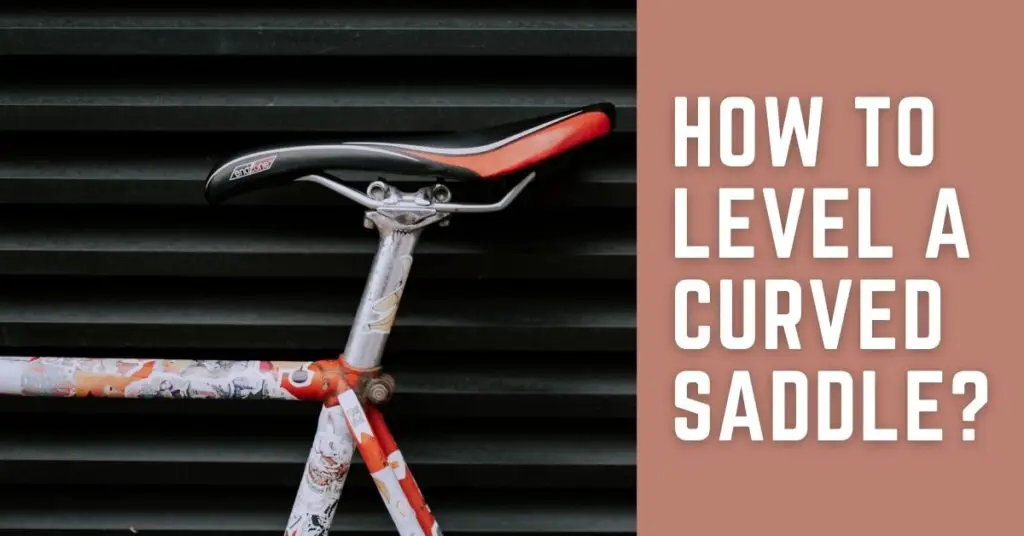
Is It Possible to Level a Curved Saddle?
It is possible to properly level any kind of bicycle saddle, even curved ones. It is important that the saddle is properly leveled to provide the required support and comfort for the cyclist.
Although it is a bit difficult to position your curved saddle at the right angle and level, you can do it with a little patience and the right guide.
How to Level a Curved Saddle?
The general rule is that your saddle should be level with the flat ground. This is usually done by comparing it with a carpenter’s bubble level, and with the guide below, you will get to know how to position this for proper use.
Too Low or Too High Angle?
In leveling your curved saddle, one thing you must remember is that the nose of the saddle should not be tipped down too much; otherwise, your pelvis will slide forward when cycling. Also, if it is angled up too much, it may cause uncomfortable pressure on you.
It is the level at which you have the most comfort and support that you should place your saddle in, and this may not always be the case with a level saddle.
STEPS for Leveling
Here are a few steps to leveling your curved saddle:
STEP 1- Use your carpenter’s bubble level, and adjust your saddle to a level position. This is the tool that you use to measure the amount of tilt in your saddle and guides you on how much to adjust your seat so that it is properly aligned.
But first, you have to know where and how to place the bubble leveler so that it does the job correctly. Here are a few positions you can place it in.
A. Place the leveler on the nose of your curved saddle alone.
B. Place the leveler on the part of the saddle where your sit bones rest.
C. Position one end of the leveler inside the groove at the back of the saddle and the other end on the front nose.
D. Place a flat book or piece of wood on the top of the saddle and put the leveler on top.
STEP 2- Take the bike for a test ride and see how the saddle fits your body. You should check if you can sit on the seat with your torso in an upright position with adequate comfort and support.
STEP 3- If yes, then your saddle is leveled enough. If No, then use the level as a guide and adjust the curved saddle. Position the level on the tail end of the saddle, measure a specific distance from the level to the saddle’s nose and adjust the nose slightly until it is at a preferred angle.
Many cyclists have said that they prefer the nose of their curved saddles to be about 1cm lower than the tail end.
STEP 4- If your saddle is curved on top, you can try leveling the nose and front half of the saddle and adding the tilt to the tail end. Fine-tune the angle of the tail until it is comfortable.
STEP 5- Take the saddle for another test ride and continue adjusting till the level is just right for you.
Exceptions to Leveling Your Curved Saddle
There are three exceptions that bicycle experts generally recommend regarding leveling of saddles, whether flat or curved.
These are:
1- Cyclists with uncommon tilts to their pelvis and lumbar posture issues should use curved saddles with a higher upward tilt than normal. This will ensure that their weight is resting on their sit bones, not soft tissue.
2- Professional cyclists using curved saddles with aero bars should have a lower tilt to their saddle.
3- Some curved saddles need a lower tilt to their nose because the rider’s weight usually compresses the shell and padding of the tail end of the saddle.
The Question of Level vs. Personal Comfort
Having a leveled saddle means that your curved saddle is on the same plane as the horizontal carpenter’s bubble. However, we also mentioned that your comfort should be factored in. This creates a conflict between the strict rule of a leveled saddle and the comfort of the cyclist.
If, for example, the personal preference of a cyclist is that the nose of the curved saddle should be lower or higher than the tail, then does this not mean that the saddle isn’t level?
The answer is yes; it means that the saddle is not properly leveled. But what is the point of a leveled curved saddle that does not support or provide comfort to its user?
Our advice to cyclists is to try to explore both options and have thorough test rides.
Usually, Leveled saddles are recommended, and this is because they are ideal for the bicycle in most cases. But if there is a natural tilt to the cyclist’s sit bones or any reason why a titled saddle nose is needed, then a leveled curved saddle surely isn’t necessary.
Other Aspects to Having the Perfect Saddle Fit
Apart from having a leveled curved saddle, there are some other things that you must consider about your saddle. Let’s take a look at some of them.
1- Saddle Rotation
This is a key factor in eliminating the discomfort you could be feeling when cycling.
No two cyclists have the same soft tissue, and this uniqueness means that the saddle alignment that would work for one cyclist might not work for another.
Therefore, the solution to that uncomfortable pressure in your saddle could be simply rotating the seat by a few degrees to the left or right. This is very easy to do.
All you have to do is:
A. Loosen the clamp of your saddle
B. Use your finger to adjust the nose to the left or right.
C. Tighten the clamp again.
You should experiment with the left and right rotations to see which is more comfortable for you, but it is a big help in easing discomfort and getting a comfy curved saddle.
2- Saddle Height
A mistake that many cyclists make is having the wrong saddle height. Many either have their saddle placed too high or too low and this puts extra strain on the muscles and body.
When it is TOO LOW the muscles of your knees and legs get fatigued easily, and when it is HIGH, they strain to pedal efficiently and you experience a dangerous rocking sensation.
The ideal position for your knee is a three-degree bend when your foot is placed on the bottom pedal. Adjusting the height of your saddle to provide this position will allow you to be more efficient when cycling as all your leg muscles will be working together.
3- Tilt of the Handlebar
Handlebars are very important and work with the saddle to provide support to the cyclist.
The wrong tilt and rotation of your handlebars can put unnecessary pressure on your hands, arms, shoulders, and back. This pressure can lead to numbness if it is not corrected.
To correct this, you should ensure that the upper part of your handlebars and the shifter hoods are leveled or at a slightly increased angle than the upper part. Test it out when riding and adjust for comfort.
Tips for Getting the Right Saddle Angle
The first thing you should know is that the right level for curved saddles is not static, it changes depending on the design of the saddle, the bodyweight effect, the riding style, etc. However, here are a couple of tips for getting the right level to your saddle.
1- In a curved saddle with double curves, the higher points of the curve, at the top and towards the tapered bottom, should be level with each other.
2- In a curved saddle with an upward angle at the top, the flat tail should be placed a bit higher and the curved part placed flat.
3- Test the effect of your body weight on the saddle to see whether the angle is comfortable for you, or if the level is creating uncomfortable pressure. If so, it needs to be re-adjusted.
4- The saddle should be clamped in the middle of the rails, as this will give it the right angle to move evenly and support you properly. The saddle should not be slid too forward or backward.
5- For professional cyclists, a more downward angle to the saddle position can provide increased flexibility. It helps them to tilt their pelvis forward more, have a better-straightened spine, and create better aerodynamics.
6- When leveling your curved saddle, avoid nosing your saddle down too much, as this may create a rolling and unstable movement for the pelvis when cycling. It also means that you will need to support your body more with your arms and upper body.
Final Thoughts!
Now you have the answers to all (or at least, most) of your questions about leveling your curved bike saddle. It is not rocket science and you can adjust the seat yourself and have a few test rides. Or, if you are still unsure, you can take it to your local bike shop for leveling.
Either way, you have surely learned a few new things about the positioning of your saddle and how it provides comfort to you when cycling, and affects your body.
Be sure to keep in mind that the riding experience (comfort) should not be ignored while adjusting the bike seat.
Cheers!

