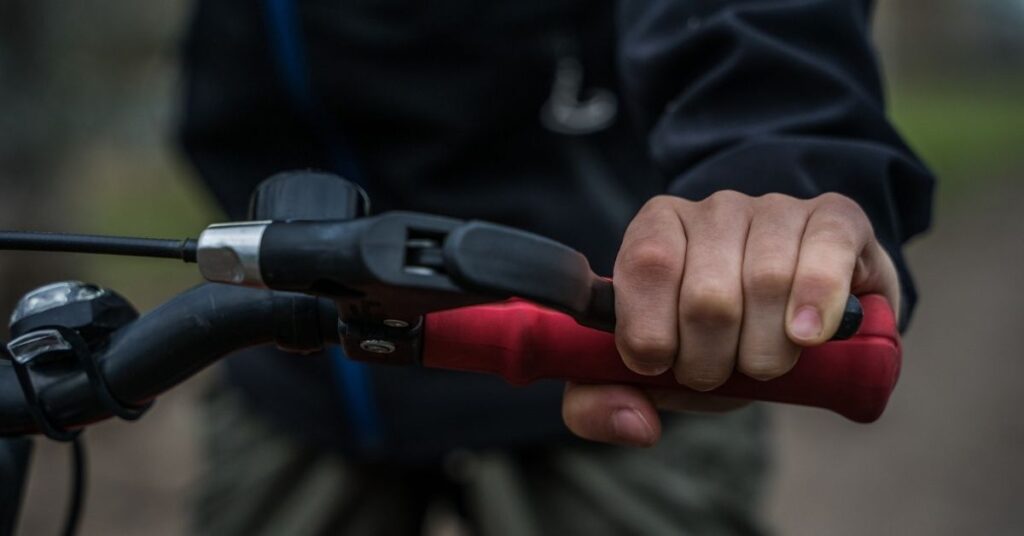
The position of brake levers on the bike handlebars makes them more susceptible to damage than other brake parts, and this damage can affect proper lever and brake function. Brake levers may also be not properly fitted to your bike or not give you the comfort and ease of motion you desire.
Understanding the type of brake lever you have in your bicycle and the other types of levers can help you determine appropriate replacements, restore proper function to your brake or improve your comfort with your lever and brake movement.
In this article, let’s understand the different types of brake levers found in bicycles, the compatibility of the various types, compare these lever types, and how to swap and replace faulty and damaged brake levers.
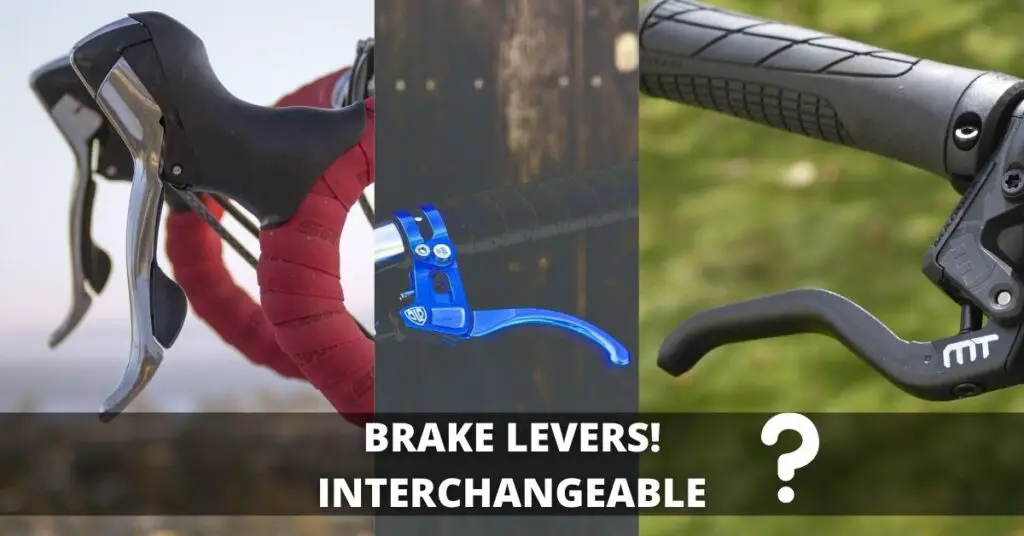
Are Bike Brake Levers Interchangeable?
Simply put, yes, bike brake levers are interchangeable. While it is not easy to find suitable replacements for the different types of levers and to install them properly into your bike, it’s not impossible and is more common than you would expect.
Why Change Brake Levers?
There are several reasons people interchange the levers of their bike brake, and several benefits and improvements the change can bring to the performance of the brake and the entire cycling experience.
REASONS
1- Comfort
Bikes lose a certain level of comfort as they age, and this negatively affects the cycling experience. To get that feel that their bike used to have, people usually switch out certain parts, including the levers and the handlebar.
2- Wear & Tear
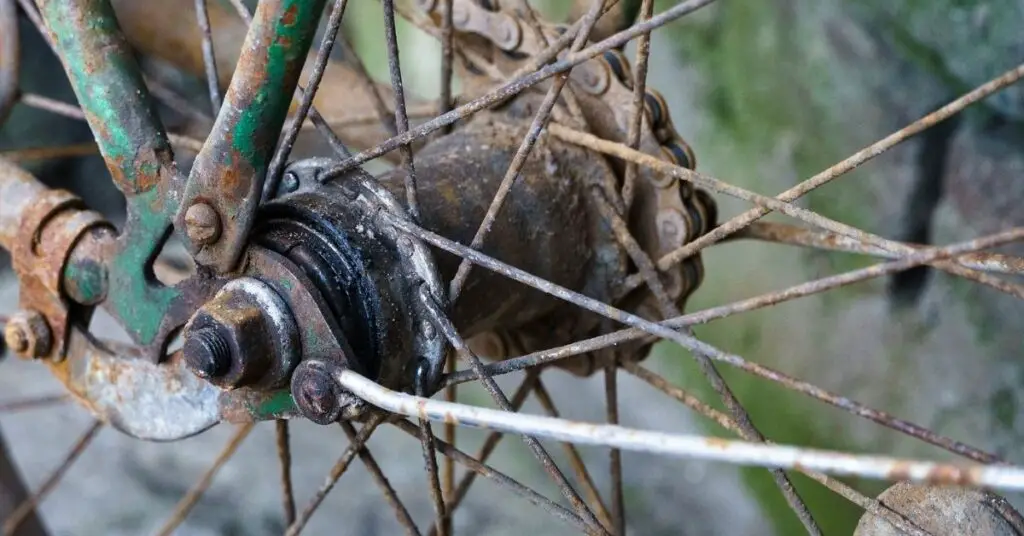
Levers are an exposed part of the brake system, and a frequently used part too. They are certain to wear out with time, reducing the efficiency of the lever and brake activation system.
This necessitates the replacement of the worn parts, sometimes for a different type to improve the bike.
3- Preference of the Cyclist
Sometimes the lever that is fitted with a bike simply does not suit the rider.
The brake and throttle may be too far apart, the location of the lever too far or near for what the rider is accustomed to, etc.
This can prompt the rider to switch out the lever for another type that is more suited to his/her hand movements and preferences.
4- Looks Matter
For many cyclists, the appearance of their bicycle is very important, it is an essential part of their routine and life and should represent them.
Sometimes, the lever and handlebars of a bike may no longer fit those aesthetics, prompting the rider to switch for a different type of lever and handlebar that is more modern and suited to their desired aesthetic tastes.
BENEFITS
1- The new lever would improve control over the lever and handlebar, increasing the cycling experience and brake efficiency.
2- Some levers are foldable and adjustable which helps with emergency stops and improves crash protection when installed in another bike. For example, short-pull levers are less likely to make an impact if you fall, so this protects you from snapping a lever or scraping your hands.
3- Some levers bring a higher mechanical advantage to the brake system and bicycle as a whole.
Before we can look at what all types of levers can you swap with which ones, let’s first understand their types.
Kinds of Brake Levers
There are two main classifications of brake levers according to the structure of the bike’s handlebars, and these are Brake levers for use with drop handlebars and levers for use with upright or flat handlebars.
1- Upright/Flat Handlebar Levers
The levers under this category include long-pull levers, short-pull levers, and flat bar levers.
A. Long-pull Levers
These have a long distance from the pivot point of the lever to the end of the cable. This allows them to have an increased pull of the cable when you move the lever.
They are more suited for and found in Disc brakes and V-brakes.
B. Short-pull Levers
These levers have a short distance between the point of the pivot and the end of the cable, which means that they have a lesser pull of cable when you move the lever.
This is why they are more suited for and found in Cantilever brakes and Road Caliper brakes.
C. Flat-bar Levers
This type of lever has a simple structure and is usually placed on the same mounting bracket with a shifter.
2- Drop-bar Brake Levers
The levers under this category include Integrated levers and Interrupter/cross-top levers. Standard drop bar levers have a variety of styles and shapes, some have hoods or rubber coverings.
The design of this brake lever makes it more accessible when the hands of the rider are on the lowest or topmost portion of the handle-bars.
A. Integrated Brake Levers
This is a lever mechanism that combines brake levers and shifters into one. It activates the brake when pulled towards the bar, and activates the derailleur when pushed to the side.
B. Interrupter or Cross-top Levers
These clamp onto the handlebar near the stem, instead of the lower or higher portion. They can work independently but also work with some standard drop-bar levers and integrated levers.
Compatibility of Brake Levers
To properly select a brake lever that is suitable for your bike and compatible with your brake structure and system, you should also know which levers are compatible with which, and what factors and elements are important in making your choice:
| Lever Type | Compatible with |
| V-brake (direct-pull or linear-pull) (15mm Cable Pull) | 1- V-brake (15 mm) 2- MTB mechanical disc (15 mm) |
| Road levers (7 mm Cable pull) | 1- Road calipers (8 mm) 2- Cantilever (7 mm) 3- Mini V-brake (7 mm) 4- U-brake (7 mm) 5- Roller brake (7 mm) 6- Road mechanical disc (8 mm) |
| Cantilever (center-pull) (7 mm Cable Pull) | 1- Cantilever (7 mm) 2- Road mechanical disc (8 mm) 3- U-brake (7 mm) 4- Road calipers (8 mm) 5- Road calipers (7 mm) 6- Mini V-brake (7 mm) 7- Roller brake (7 mm) |
| Road levers (8 mm Cable Pull) | 1- Road calipers (8 mm) 2- U-brake (7 mm) 3- Mini V-brake (7 mm) 4- Cantilever (7 mm) 5- Road mechanical disc (8 mm) 6- Roller brake (7 mm) |
Factors to Consider While Interchanging Brake Levers
1- The spectrum of the functionality of the chosen levers. How well do they function with the other parts of your bike, such as the handlebar, cable, even your seat positioning and bike structure?
2- The amount of cable pull and leverage that is required to activate the brake. Does your chosen lever have enough cable pull and leverage? Some levers like those found in a v-brake have more leverage and less cable pull than others, and this is important to consider.
3- Looking at the compatibility of brake levers with brakes themselves is essential. Choosing a brake lever that is incompatible with your brake will increase the amount of hand strength necessary to activate the brake and put more strain on the bike. This can also stiffen up your bike’s brake system and affect its ability to slow and stop.
How to Change Brake Levers?
Here is a guide on how to make a smooth and quick lever change without affecting your brake system negatively or damaging other parts of your bicycle.
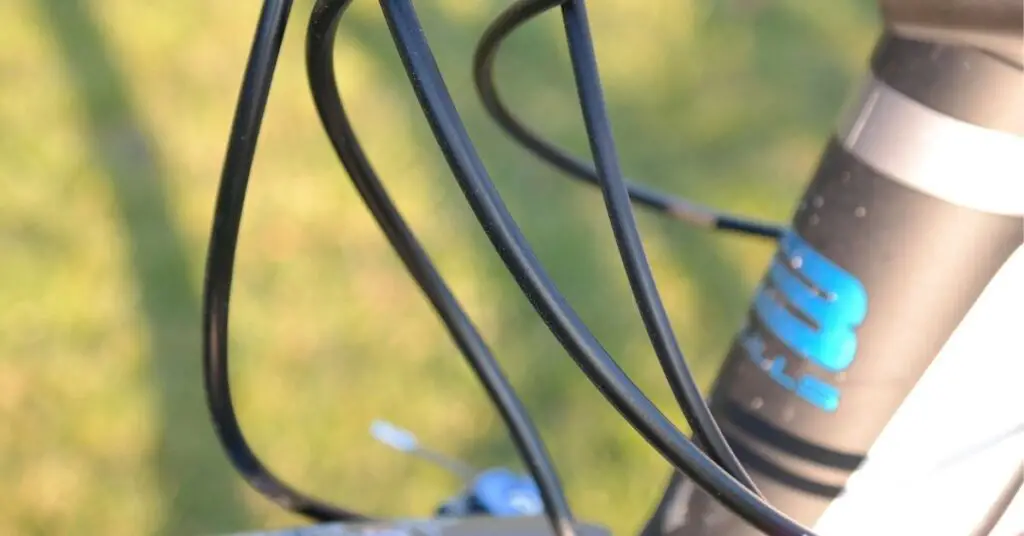
The levers and brake systems of bikes are complex and switching to another lever often necessitates changes in other aspects such as the cable, nipple, oil, etc.
It is best to consult an experienced bicycle mechanic before making any large changes to your brake. Where you are switching to a lever within the existing specs of your brake and bicycle, here are some steps for you:
Caution: When tightening the new levers on your handlebar, tighten them very carefully. Continuously move the lever in its position, testing to see if it needs to be tightened or loosened up a bit more. Stop tightening as soon as the lever is firmly in place on the handlebar.

This makes them tight and firm enough to stay in place when you are reefing on them and prevents them from loosening easily and getting damaged.
YOU’LL NEED
Isopropyl Alchohol
Chalk/Marker
INSTALLATION STEPS
STEP 1- Carefully strip off the tape on your handlebar, and use isopropyl alcohol to remove any sticky residue. Some handlebars have marks where the levers are installed, and this makes it easier to position and install the new lever.
STEP 2- Make thick marks for the positions of the lever clamps on the handlebars using chalk or marker. Allow the marks to dry so that you have a proper reference for your lever installation.
You should also mark the points at which the rubber hoods connect with the handlebar, especially at the tops of the hoods.
STEP 3- Unscrew the first lever carefully and using the marks you have made as a guide, place the new lever in the correct position and tighten it in place. Attach the hoods in place and ensure that everything is secure.
STEP 4- Test the new lever to see how tight it is, and whether there is enough tension.
Stand and sit over the bike as if you are riding it to see if there are any necessary adjustments to be made to the lever.
STEP 5- Repeat this process to install the second lever, and ensure that both levers are properly aligned and suited to the handlebar and brake system.
What you can do to convert your lever where the components are completely different, is to make use of a lever adaptor known as a travel agent.
It manages the cable ratio and assists in covering up the difference in the cable pull power of the new lever, this is especially useful when switching from a cantilever (short-pull) to a v-brake (long-pull).
It is very useful where you wish to match a particular short-pull lever with a brake requiring longer cable pull, such as mechanical disc brakes and v-brakes.
The travel agent adaptor allows the proper amount of cable and pressure to travel to the brake, and the wheel.
Different Brake Lever Types (Comparison)
| Lever-type | Features | Advantages | Disadvantages |
| Long-pull | Has a 2 finger lever and a long distance from the pivot point to the cable end. | – Easy to adjust – Pulls more cable and has a higher mechanical advantage. | – Lesser handlebar movement – Has less mechanical leverage for the pads. |
| Short-pull | Smaller structure and pulls less cable when activated | – Improved lever adjustment. – Less likely to break or snap in an accident. | – Less leverage for the brake – Expensive |
| Integrated | Combines the braking and gear shift mechanism into one system. It activates brake and derailleur when pulled in particular directions. | – Brakes and shifter combination allows for easier use and a smoother gear shift mechanism. | – Expensive – Complicated and more vulnerable to damage. |
| Cross-top | Located near the stem of the handlebar and works with traditional drop-bar and integrated levers. | – Provides increased braking control. – Easier access to adjuster barrel. | – Takes up space on the handlebar. – Heavier weight and higher cost. |
| Flat-bar | Usually found on flat bar handlebars and placed with a shifter. | – Affordable price and easily available to purchase. – More accessible for easy and emergency braking. | – More suited for shorter distances and leisure rides. – Incompatibility with other levers and handlebars. |
Conclusion
I believe that with the information and guidance in this article, understanding the brake lever of your bike, other levers compatible with it, and how to make a successful and efficient change of the levers are now simple processes for any biker.
All you need is a little elbow grease, determination, and our article guide to make that switch in your brake lever and have a better performing brake, which improves your bike, and your experience and performance as a cyclist.
Cheers!