Any damage to the brake can affect the lever function and prevent the brake from performing properly (stopping or slowing down).
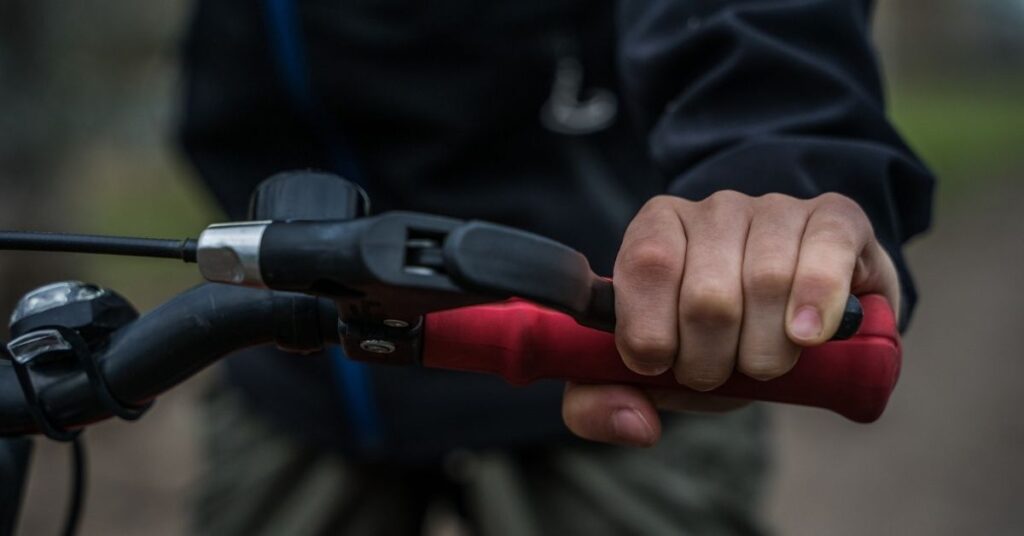
Understanding the components of the brake lever can help you fix and replace these parts when they get damaged or fall apart, and solve other issues with your brake.
In this article, let’s aww whether the brake levers have a spring, its purpose, where does it go into the lever, and how to put it back in the lever.
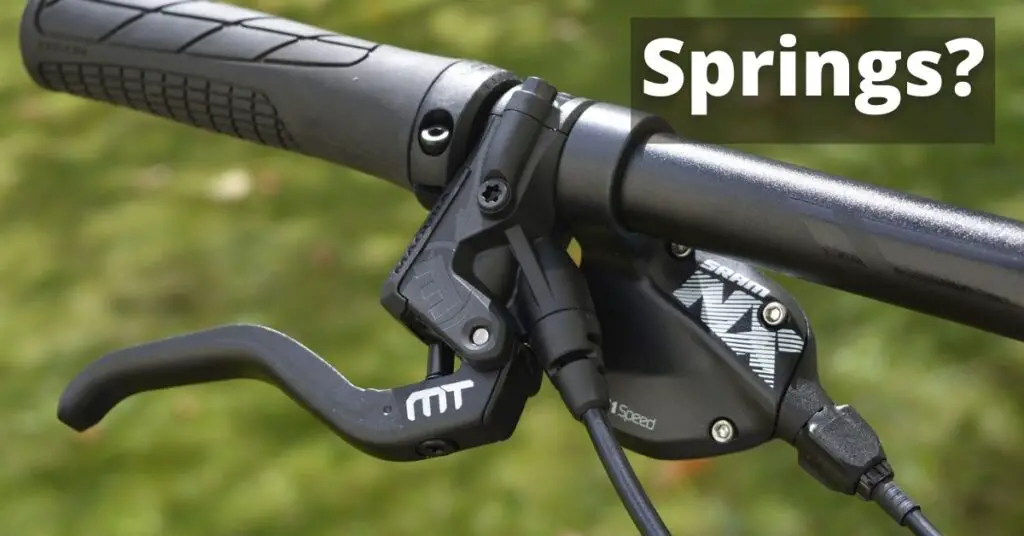
Do Brake Levers Have Springs?
One of these important components that make up a brake lever is one or two small springs that support the lever rotation, spring tension and assist in returning the lever to its starting position.
These are usually known as return springs and are mostly found in the brake levers of V-brakes, sometimes in U-brakes, and some models of other types of bicycle brakes.
So, yes, some brake levers have springs.
Purpose of Springs in a Brake Lever?
Like earlier stated, these return springs are more commonly found in V-brakes and U-brakes. They are very small springs, usually measuring ⅛ in diameter and ½ inch in length.
V Vs. U Brakes
In V-brakes, there is usually a minimal amount of spring tension, and the springs in the lever work as a return spring to compensate for this.
In U-brakes, they require a higher amount of spring tension, so while these springs are there as a backup and support, they are usually less noticed and important in brake lever function.
It is usually not a very strong spring and usually has no other purpose than to return the lever to the original position before activation, and sometimes to anchor and control the rotation of the lever.
It is a relatively new development in the brake levers of bicycles as most older bicycle models do not have this spring in their brake levers.
The Need For this Spring
Recent designs of brake calipers began to incorporate this spring into the levers to lighten the action and assist with the pull at the brake levers. This reduces the force placed on the levers and reduces the risk of damage from excessive use and pressure on the lever.
These springs also improve the function of the lever as they ensure that the cable is fed completely back to the calipers. When the levers are released, the springs absorb the tension and reduce the pull of the caliper springs on the brake lever.
Where Does the Spring Go In a Brake Lever?
The return spring in a bike lever is usually located over the protruding area of the bushing spool or coiled inside the bushing spool itself.
When located over the protruding part of the bushing spool, it hooks on one side in the lever and on the other side, into a part of the main body of the handlebar.
Some brakes have safety levers (commonly referred to as ‘turkey wings’), these levers have a spring located inside the pivot pin, underneath the screw that holds the safety lever in place on the body of the brake lever.
It also provides tension to prevent this screw from vibrating excessively and falling out of the lever.
This screw is designed with a form of a tooth on its end, and this tooth engages the spring and activates it to keep the screw tight with just the right amount of tension.
How Do You Put a Spring Back on a Brake Lever?
When the spring in your brake lever has popped out, you should try to put it back in the lever before considering other options such as replacing the entire lever, taking the bicycle to a workshop, or making do without the spring.
What You’ll Need
The major tool to use in most V-brakes is a Philips screwdriver (+ head). Some other models can be worked on with a small Allen key. You can check with your model guide if there are any specific tools your bike and brake lever require.
To put the spring back properly, you should follow the following instructions carefully…….
Steps
STEP 1: Carefully detach the brake lever from the handlebars and disassemble the lever.
STEP 2: Remove the bushing spool from the lever and carefully reattach the spring to it. The return spring is to be placed over the protruding section of the bushing and one side should be hooked into the brake lever and another side into a corresponding part of the main body of the lever.
STEP 3: Carefully place the bushing spool back into the lever, taking care not to damage the other parts, reassemble the brake lever properly, and attach it back onto the handlebar.
STEP 4: Test the brake lever to see if the tension is back to normal and it’s functioning normally. If not, it is recommended that you try to address other issues in the lever or take the brake lever to a professional for a full repair.
What If You Loose The Spring?
If the return spring is damaged or lost, it would be difficult to replace as most hardware stores and manufacturers do not sell this spring alone, they usually come as a part of a whole new brake lever.
In caliper brakes, you can still have a functioning bicycle as the calipers have enough return force in themselves to carry the function of the springs.
In other types, you may have to replace the whole brake lever, as the lever may just flop downward uselessly, and it is necessary to have that proper tension and activation in your brake.
Why Does My Brake Lever Not Spring Back?
Where the lever of your brake flops downward instead of springing back to its original position, it is a sign of damage to your lever.
Whether this is due to a lost or damaged spring, or your return spring fell out (and you have followed the above process to resolve it but the brake lever does still not spring back), there may be several other issues.
Some of these issues include……..
1- Low spring tension in the brake lever.
2- Damaged brake cable connecting the lever and brake.
3- Dirty or damaged barrel adjusters.
4- Uneven brake pads that have caused wear and friction.
5- Damaged brake lever that is not functioning properly.
6- Worn out brake blocks that have caught or hooked under the rim of the wheel.
7- Rusted or stiffened pin in the brake lever.
8- Friction damage in the cable that runs from the top of the bicycle frame to the brake.
How to Make Your Brake Lever Spring Back?
Now that you are aware of several issues that are affecting your lever and preventing it from springing back properly, here are recommended methods to fix these issues and adjust your brake lever so that it springs back and functions properly……
STEP 1: Clean the barrel adjusters in your bike properly with a clean cloth.
STEP 2: Add more spring tension to the lever and tighten it till it springs back to your satisfaction. Do this by tightening the screw in a clockwise direction, an anti-clockwise direction will make the spring slack.
STEP 3: You may need to replace your brake cable if there are signs of damage to the current cable. This will resolve the issue of friction in the cable.
STEP 4: You should thoroughly lubricate or grease the pin in the brake lever to prevent damage and alleviate the stiffness.
STEP 5: Properly check that the left and right brake pads are touching the rim at the same time. If not, carefully adjust the return springs in a clockwise direction while checking the pads until they are properly aligned.
STEP 6: Apply and release the brake lever while simultaneously turning the wheel to release the brake blocks caught under the rim. Carefully trim or file down the blocks and if the blocks are too worn, you should replace them.
STEP 7: Where there is damage to several parts of the brake lever and the brake lever itself, you will need to replace it to restore proper brake function and activation to the brake.
Conclusion
Now that you not only understand one of the key components of a brake lever; the return spring but also understand what it does, where its located, and how to fix it back into the brake lever properly, you have equipped yourself with more knowledge on your brake lever, brake and in general, your bicycle.
You have saved potential costs in taking it to a workshop to be fixed, buying whole replacement parts, etc.
Cheers!

